Pretty fast after I placed the Polaroid Photo Viewer with CSS3 and jQuery example online, I received loads of e-mails and comments requesting another feature. The original example was only full-screen, but people wanted it to "stick" to a box (Placing it inside a <div>).
By making a couple of changes to the original code, I managed to make this work too. So today, I present you the non-full screen version of the popular Polaroid Photo Viewer with CSS3 and jQuery.
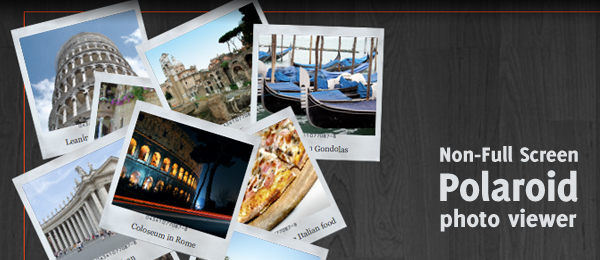
Try dragging the polaroids around in the demo. You’ll be able to do so, but the surrounding division seems to prevent the user from actually dragging it outside it’s container.
Just like with the original example, this example only works on modern browsers supporting CSS3 (Safari, Chrome and Firefox 3.5). This probably would work with Opera too, but I haven’t tested it.
Now to show you which small changes are made to the original script to make this one work.
First things first
Since we’re not making the script full-screen anymore, we might want to trim down everything. This simply means:
- Resizing all images (Polaroid background and foreground)
- Trimming down the font-size in CSS
- Changing some other static (yeah – it’s a bad thing) values in the CSS
This will leave us with a simple, "minified-version" of the original script (just small polaroids). Now that’s something we can work with.
HTML
So, let’s do the most basic (but important!) step in the HTML. This is what we had at first.
<div class="polaroid">
  <img src="images/01_colosseum.png" alt="Colloseum" />
  <p>Coloseum in Rome</p>
</div>
<div class="polaroid">
  <img src="images/02_vatican.png" alt="Vatican" />
  <p>Vatican</p>
</div>
<!-- More images here -->
Since we’ll need it to be locked to a surrounding container, this is the most obvious step to make:
<div id="polaroidcontainer">
  <div class="polaroid">
    <img src="images/01_colosseum.png" alt="Colloseum" />
    <p>Coloseum in Rome</p>
  </div>
  <div class="polaroid">
    <img src="images/02_vatican.png" alt="Vatican" />
    <p>Vatican</p>
  </div>
  <!-- More images here -->
</div>
And that’s what we’re going to work with (On the demo page, I added some extra information but that’s not necessary)!
jQuery
Apart from the changes made in the first step (trimming everything down), we don’t need to change the CSS; only jQuery. The following change is the most important one.
This was the original code:
// Make the polaroid draggable & display a shadow when dragging
$(".polaroid").draggable({
  cursor: 'crosshair',
  // More draggable stuff here
});
Now the following is added, which is vital to make the script work:
// Make the polaroid draggable & display a shadow when dragging
$(".polaroid").draggable({
  containment: 'parent',
  cursor: 'crosshair',
  // More draggable stuff here
});
Did you see the change? If not, this is added: containment: ‘parent’. The containment is used to prevent the user from dragging the polaroids over the whole screen and keep it in the parent object (The div we added in the first step!).
That’s it! There were some minor changes made to calculating the random placement (since we’ll need to calculate that one based on the parent instead of the full screen), but that’s just basic math.
Conclusion and Download
By doing some minor changes to the full script, you can actually create this effect and make it more usable. Luckily jQuery provides the containment for the draggable component, otherwise it would be really hard to create this effect.
What do you think of the changes? Will you be able to use it in the nearby future?